Resources / Preparedness / Transportation & Bug-Out Readiness
Evacuation Plans & Fuel Storage
Keeping a way out of harm's way when normal routes and routines are not an option.
The Rundown
Transportation readiness starts with a habit that costs nothing: keep the tank above half. From there it's a matter of volume, first 5-10 gallons of stabilized fuel per vehicle, then 10-20, then a tool kit and get-home bag riding along. A single five-gallon can of stored fuel costs about what one fill-up runs today. Extend the same standard to every vehicle in the household, add a bicycle as a backup option, and actually drive your planned routes before you ever need them.
Target, time, and cost figures below are planning estimates, not guarantees. They'll vary by household size, region, and what you already have on hand.
Jump to a Step
Keep Your Vehicle Above Half a Tank at All Times
Fuel tank never below 50%
Fill the Tank and Store 5-10 Gallons of Stabilized Fuel
Full tank + 5-10 gallons stored fuel, per vehicle
Build a Basic Vehicle Tool & Repair Kit
1 tool kit per vehicle
Expand Stored Fuel to 10-20 Gallons Per Vehicle
10-20 gallons stored fuel, per vehicle
Build a Get-Home Bag for Every Vehicle
1 get-home bag per vehicle
Add a Bicycle or Alternate Transport Option
1 bicycle or alternate transport option, per household
Extend Full Tanks and Stored Fuel to Every Household Vehicle
20+ gallons stored fuel per vehicle, all vehicles full
Drive Your Routes and Add Off-Road Capability
Primary routes driven, 25+ gallons rotated fuel per vehicle
Keep Your Vehicle Above Half a Tank at All Times

This is the cheapest readiness upgrade there is: stop letting the tank run down before you think about filling it. Stations lose power fast in a real event, and a quarter tank gives you a lot fewer options than a half tank does.
Do This
- Make a rule: fill up at half, not empty, starting today.
- Check the tank before any trip longer than your normal commute.
- Keep a small amount of cash on hand in the vehicle in case card systems are down at a station.
- Apply the same rule to every vehicle in the household, not just the one you drive most.
Fill the Tank and Store 5-10 Gallons of Stabilized Fuel

A full tank gets you out of town. Stored fuel is what lets you actually get somewhere once you're on the road and stations are tapped out or closed.
Do This
- Buy two approved 5-gallon fuel containers (roughly $20-25 each) and fill them at a station, not a garage tank.
- Add fuel stabilizer (about $10 a bottle, treats several gallons) so the fuel is still usable months from now.
- Store cans upright, outside the living space, away from any ignition source.
- Mark the date on each can and rotate it into your vehicle every 6 months, refilling with fresh fuel.
Stabilizer Isn't Optional
Untreated gasoline starts breaking down in as little as a month and can gum up an engine within a year. A ten-dollar bottle of stabilizer is the difference between a can of usable fuel and a can of varnish. Don't skip it to save on a small, one-time cost.
Build a Basic Vehicle Tool & Repair Kit

A dead battery or a flat tire shouldn't be the thing that strands you. Most of what you need to handle common roadside problems fits in one small bag in the trunk.
Do This
- Get a real set of jumper cables ($20-25) and a basic tire repair or plug kit ($15-20).
- Add a compact tool set with common wrenches, pliers, and screwdrivers ($25-35) and a tire pressure gauge.
- Include a flashlight or headlamp with fresh batteries, kept with the kit, not loose in the glovebox.
- Actually test that you know how to use each item, don't just buy it and stash it.
Expand Stored Fuel to 10-20 Gallons Per Vehicle

Ten to twenty gallons is real range, enough to skip several fuel stops during a regional disruption. This is a volume increase on what you already started in stage two, not a new system.
Do This
- Add two to three more approved fuel containers to your existing setup.
- Keep your rotation schedule current as the volume grows, don't let older cans get forgotten in back.
- Secure cans so they can't tip, roll, or leak in transit if you ever need to load them into the vehicle.
- Store fuel away from your food and water reserves, in a separate, ventilated area.
Build a Get-Home Bag for Every Vehicle

If the vehicle itself becomes unusable, whoever is in it needs a way to keep moving on foot. A get-home bag in every vehicle covers that gap.
Do This
- Pack a backpack ($30) with a water filter or bottle ($20), calorie-dense food ($15), and a basic first aid kit ($20).
- Add a poncho or weather layer ($10) and a flashlight or headlamp ($15).
- See our Get-Home Bag Essentials guide for the full per-adult build.
- Keep the bag in the vehicle year-round, not just for trips.
Add a Bicycle or Alternate Transport Option

When roads are gridlocked, blocked, or simply too dangerous to drive, a bicycle can cover ground a car can't. It doesn't need to be expensive, it needs to be reliable and ready.
Do This
- A used or entry-level bike ($100-250) beats no bike at all, this doesn't need to be high-end gear.
- Keep tires aired up and the chain lubed so it's actually rideable when you need it.
- Add a basic patch kit and pump so a flat doesn't take the option off the table.
- Store it somewhere accessible, not buried behind everything else in the garage.
Extend Full Tanks and Stored Fuel to Every Household Vehicle

One ready vehicle is good. A household where every vehicle is full, stocked, and equipped is a much stronger position if you need to move people and gear at the same time.
Do This
- Repeat stages one through five for each additional household vehicle.
- Keep a simple written log of which vehicle has what, so nothing gets assumed and skipped.
- Rotate stored fuel across all vehicles on the same schedule so nothing goes stale unnoticed.
- Make sure every household driver knows where each vehicle's kit and fuel are stored.
This Doesn't Happen Overnight
Outfitting a second or third vehicle to the same standard as your first is a real cost. Spread it out. Buying one fuel can and one weather layer a month gets every vehicle covered within a year without a single big-ticket hit to the budget.
Drive Your Routes and Add Off-Road Capability

A route you've only looked at on a map isn't a route you know. Actually drive it, at a normal time and during traffic, so you find the chokepoints before you need to avoid them under pressure.
Do This
- Drive your two or three planned routes out of the area, not just the primary one.
- Note chokepoints: bridges, single-lane sections, and low-lying roads that flood.
- Push stored fuel up to 25+ gallons per vehicle and keep the rotation tight.
- If your vehicle and budget allow it, look at off-road-capable tires or a lifted suspension as a longer-term upgrade, not a requirement to get value from everything above.
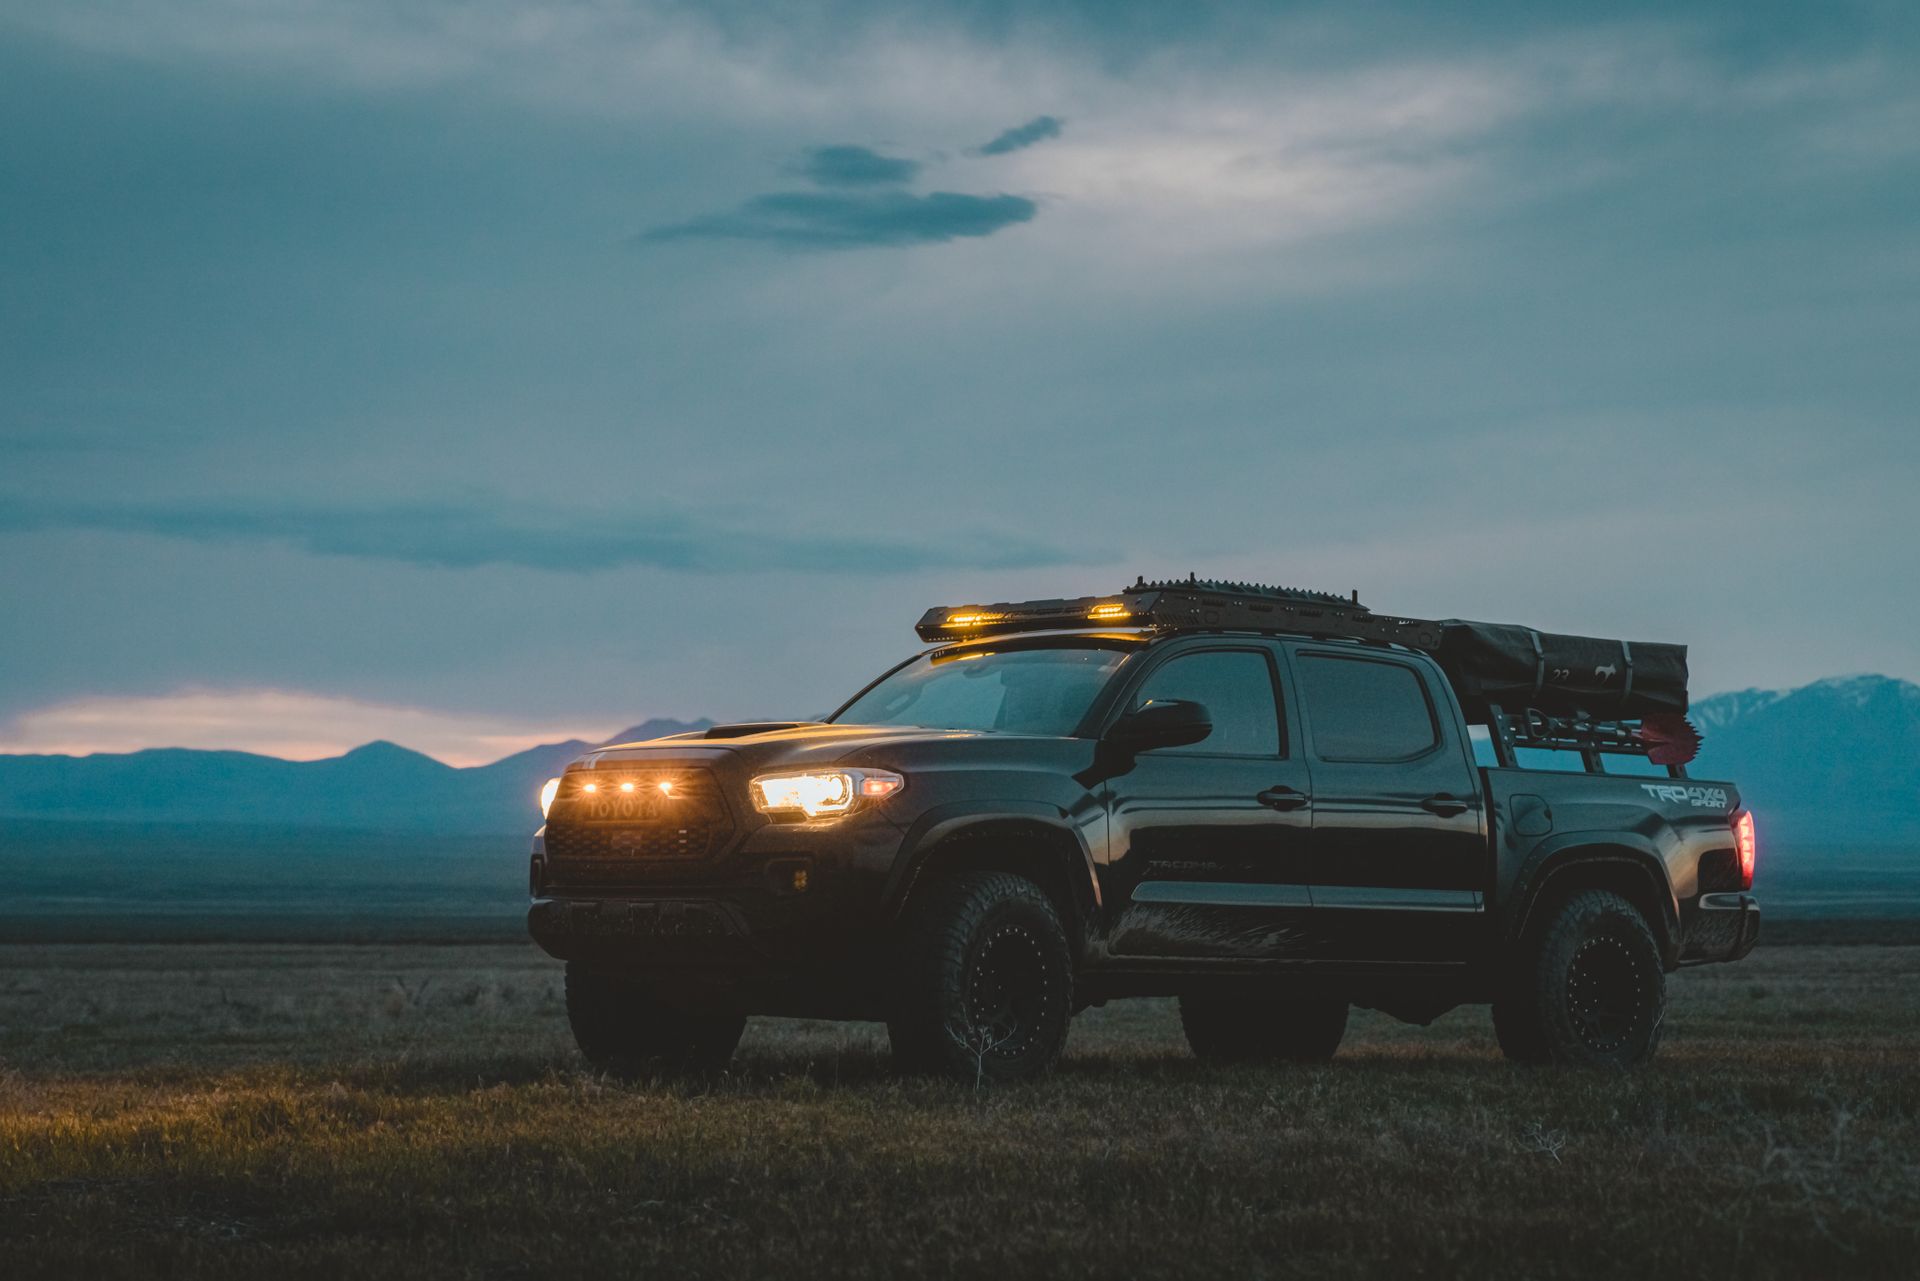
You don't need a dedicated bug-out rig sitting in the garage. You need vehicles that are fueled, equipped, and known, and routes you've actually driven. Build it one tank, one can, and one drive at a time.
Common Questions
How do I plan an evacuation route?
Pick several destinations in different directions ahead of time, as Ready.gov recommends, and plan more than one route to each. Keep paper maps in every vehicle in case phones and GPS are down, and drive your routes before you ever need them.
How long can you store gasoline?
Untreated gasoline starts to break down within a few months. Adding a fuel stabilizer extends that considerably. Store it in approved containers away from the house, label the date, and rotate it into your vehicle on a schedule.
Why keep the gas tank above half?
It costs nothing and means you can leave immediately. In an evacuation, gas stations get long lines or lose power, and a half tank is often enough to get clear of the problem.

Have Something to Add?
If you're a client or instructor with resources worth sharing here, reach out.
Get in Touch