Resources / Tactical Preparedness / Tier 3: Gun Belt
Tier 3: Gun Belt Setup
The holster most people forget, reloads, and a full IFAK on a belt you can train in.
The Rundown
The gun belt is where most people should go after guns and mags, and where the holster finally gets bought. Start with a low-profile inner/outer belt, add a light-bearing retention holster, rifle and pistol mag pouches, and a detachable IFAK with a tourniquet up front. Lock the layout in place and drill it until your hands find everything without looking.
Costs are typical new retail ranges as of 2026 and planning estimates, not quotes. Brands named are common starting points for your own research, not the only good options.
Jump to a Step
Pick a Low-Profile Inner/Outer Belt
1 inner + outer belt system
Add a Light-Bearing Retention Holster
1 duty holster (level II or III retention) that fits gun + light
Add Rifle and Pistol Mag Pouches
1–2 rifle, 1–2 pistol pouches
Mount a Full IFAK
1 rip-away IFAK + a tourniquet either hand can reach
Set the Layout, Then Train It
Balanced layout; draws, reloads, and medical drilled
Pick a Low-Profile Inner/Outer Belt
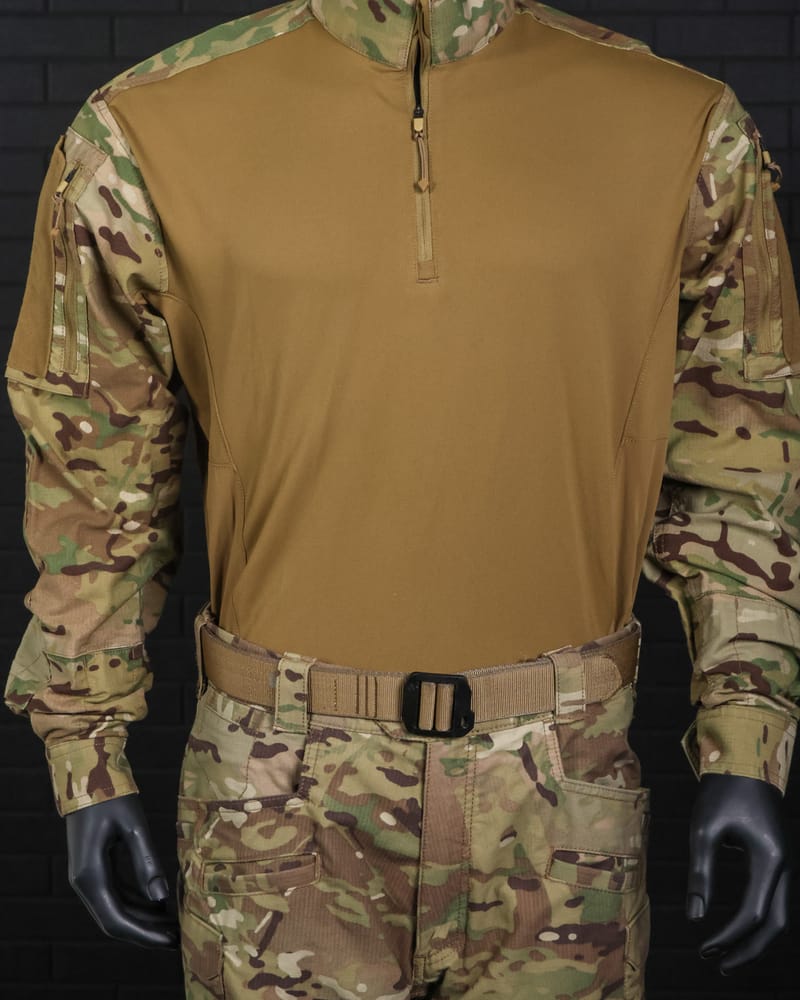
A battle belt is two belts: a thin inner belt that runs through your pant loops, and a stiff outer belt that velcros over it and carries your gear. Together they don't sag or shift under a loaded holster.
Low-profile beats bulky. A slim belt is easier to wear under a plate carrier and won't fight your pack's hip belt. Common names to start your search: Blue Alpha, HSGI, Ferro Concepts, and Ronin Tactics.
Do This
- Size the belt over the clothes and layers you'll actually wear with it.
- Choose a stiff outer belt that holds a loaded holster without sagging.
- Get a buckle you can open and close one-handed.
- Leave room on the belt: you only need a few pouches.
Add a Light-Bearing Retention Holster
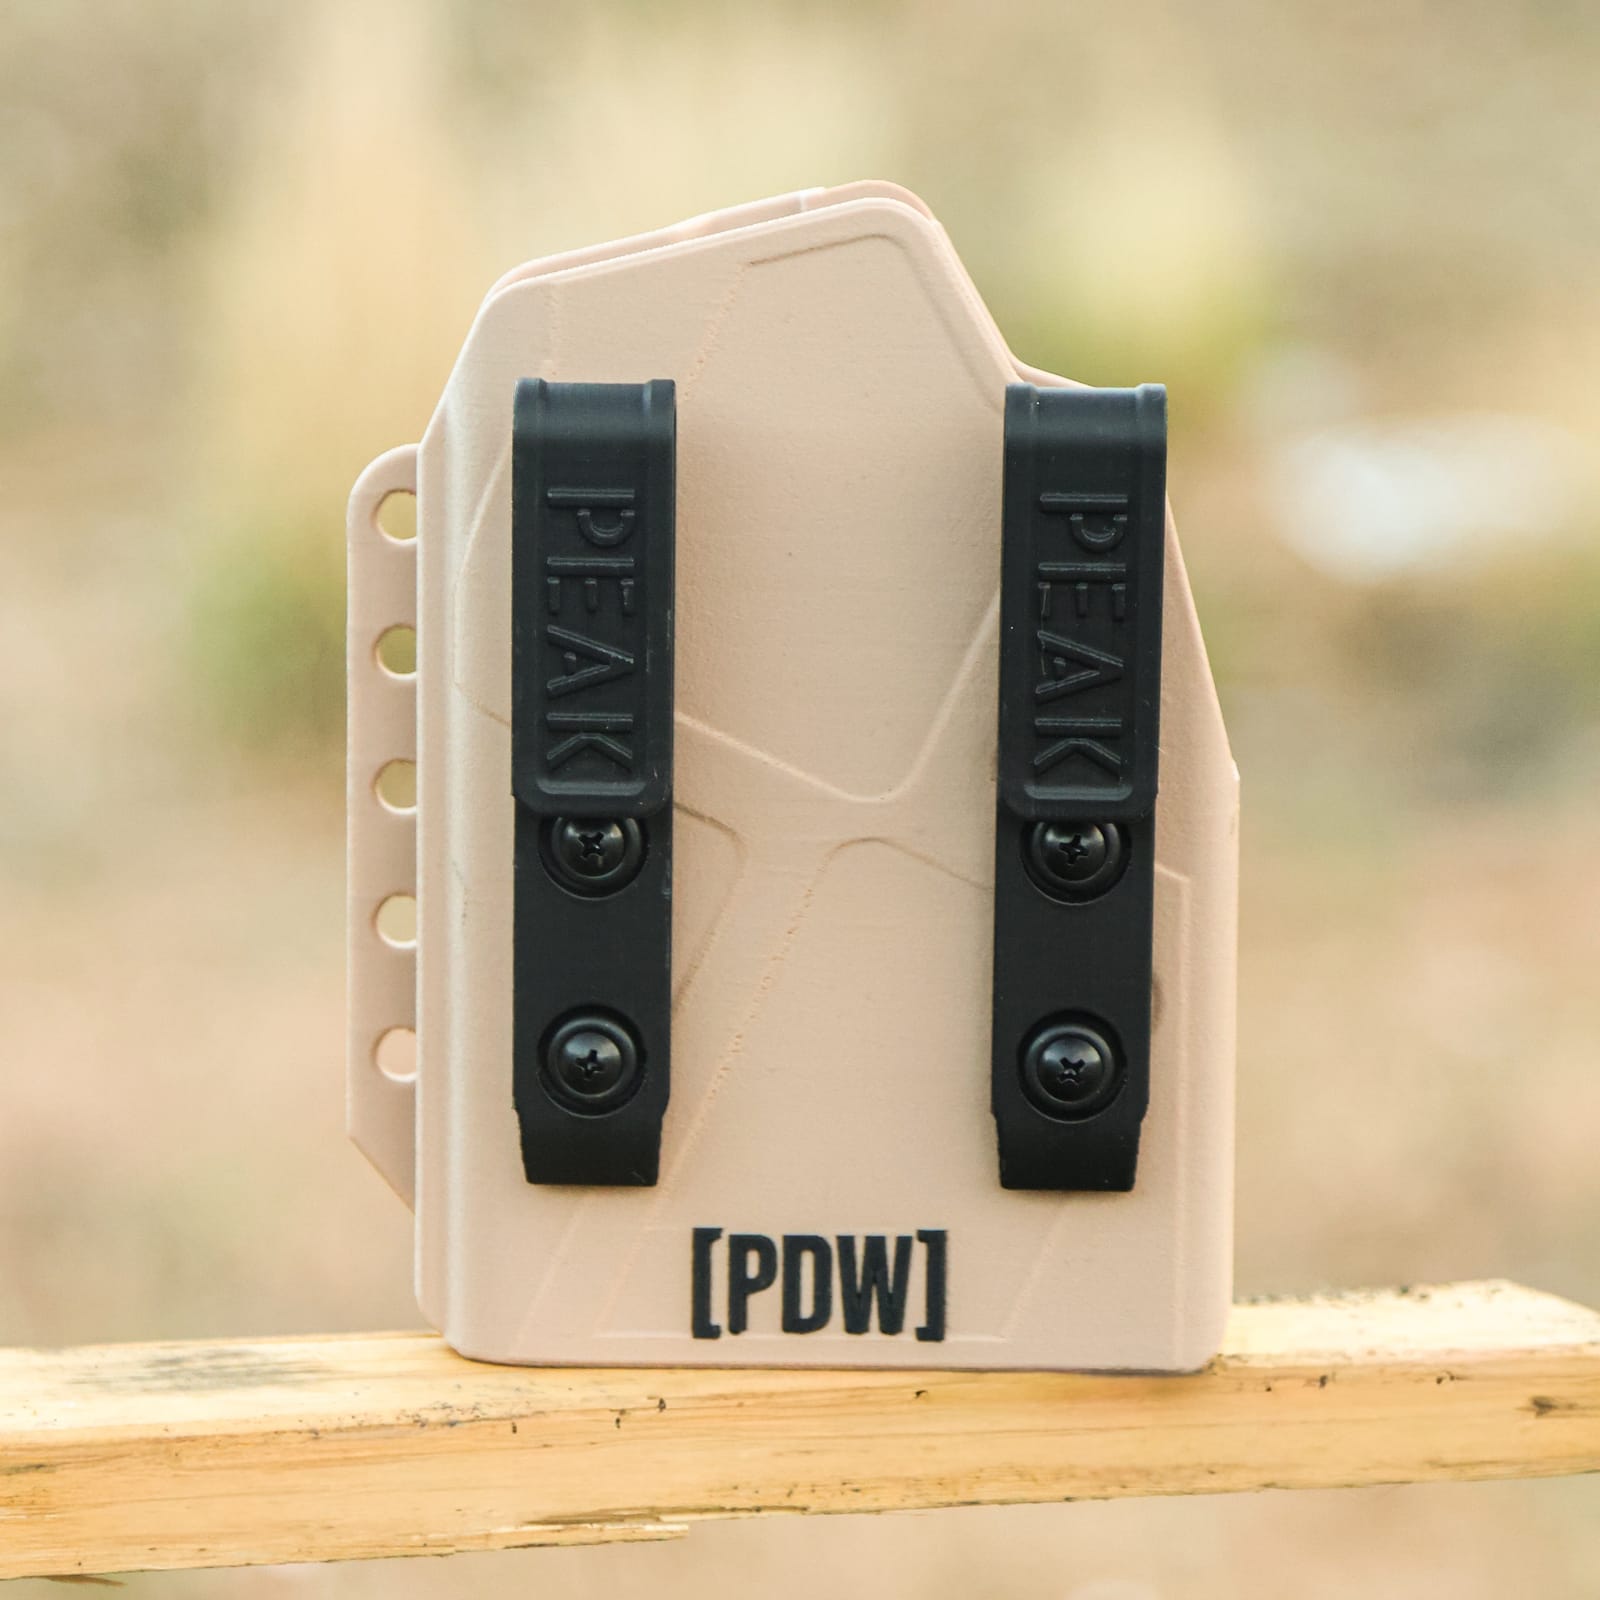
This is the holster most people forget when they buy the pistol. On a belt you're running, crawling, and climbing, so it needs active retention: a hood or lock that keeps the pistol in until you release it. Safariland's ALS and SLS systems are the common standard, and other makers build good options too.
Buy it for the gun with its light on, and mount it with a quick-release or mid-ride adapter so it sits where your hand naturally lands.
Do This
- Choose a light-bearing holster with level II or III retention for your exact gun and light.
- Set the ride height so the grip clears your chest rig or plate carrier.
- Practice the draw with an unloaded gun until releasing the retention is automatic.
- Check every screw after the first range day.
Add Rifle and Pistol Mag Pouches
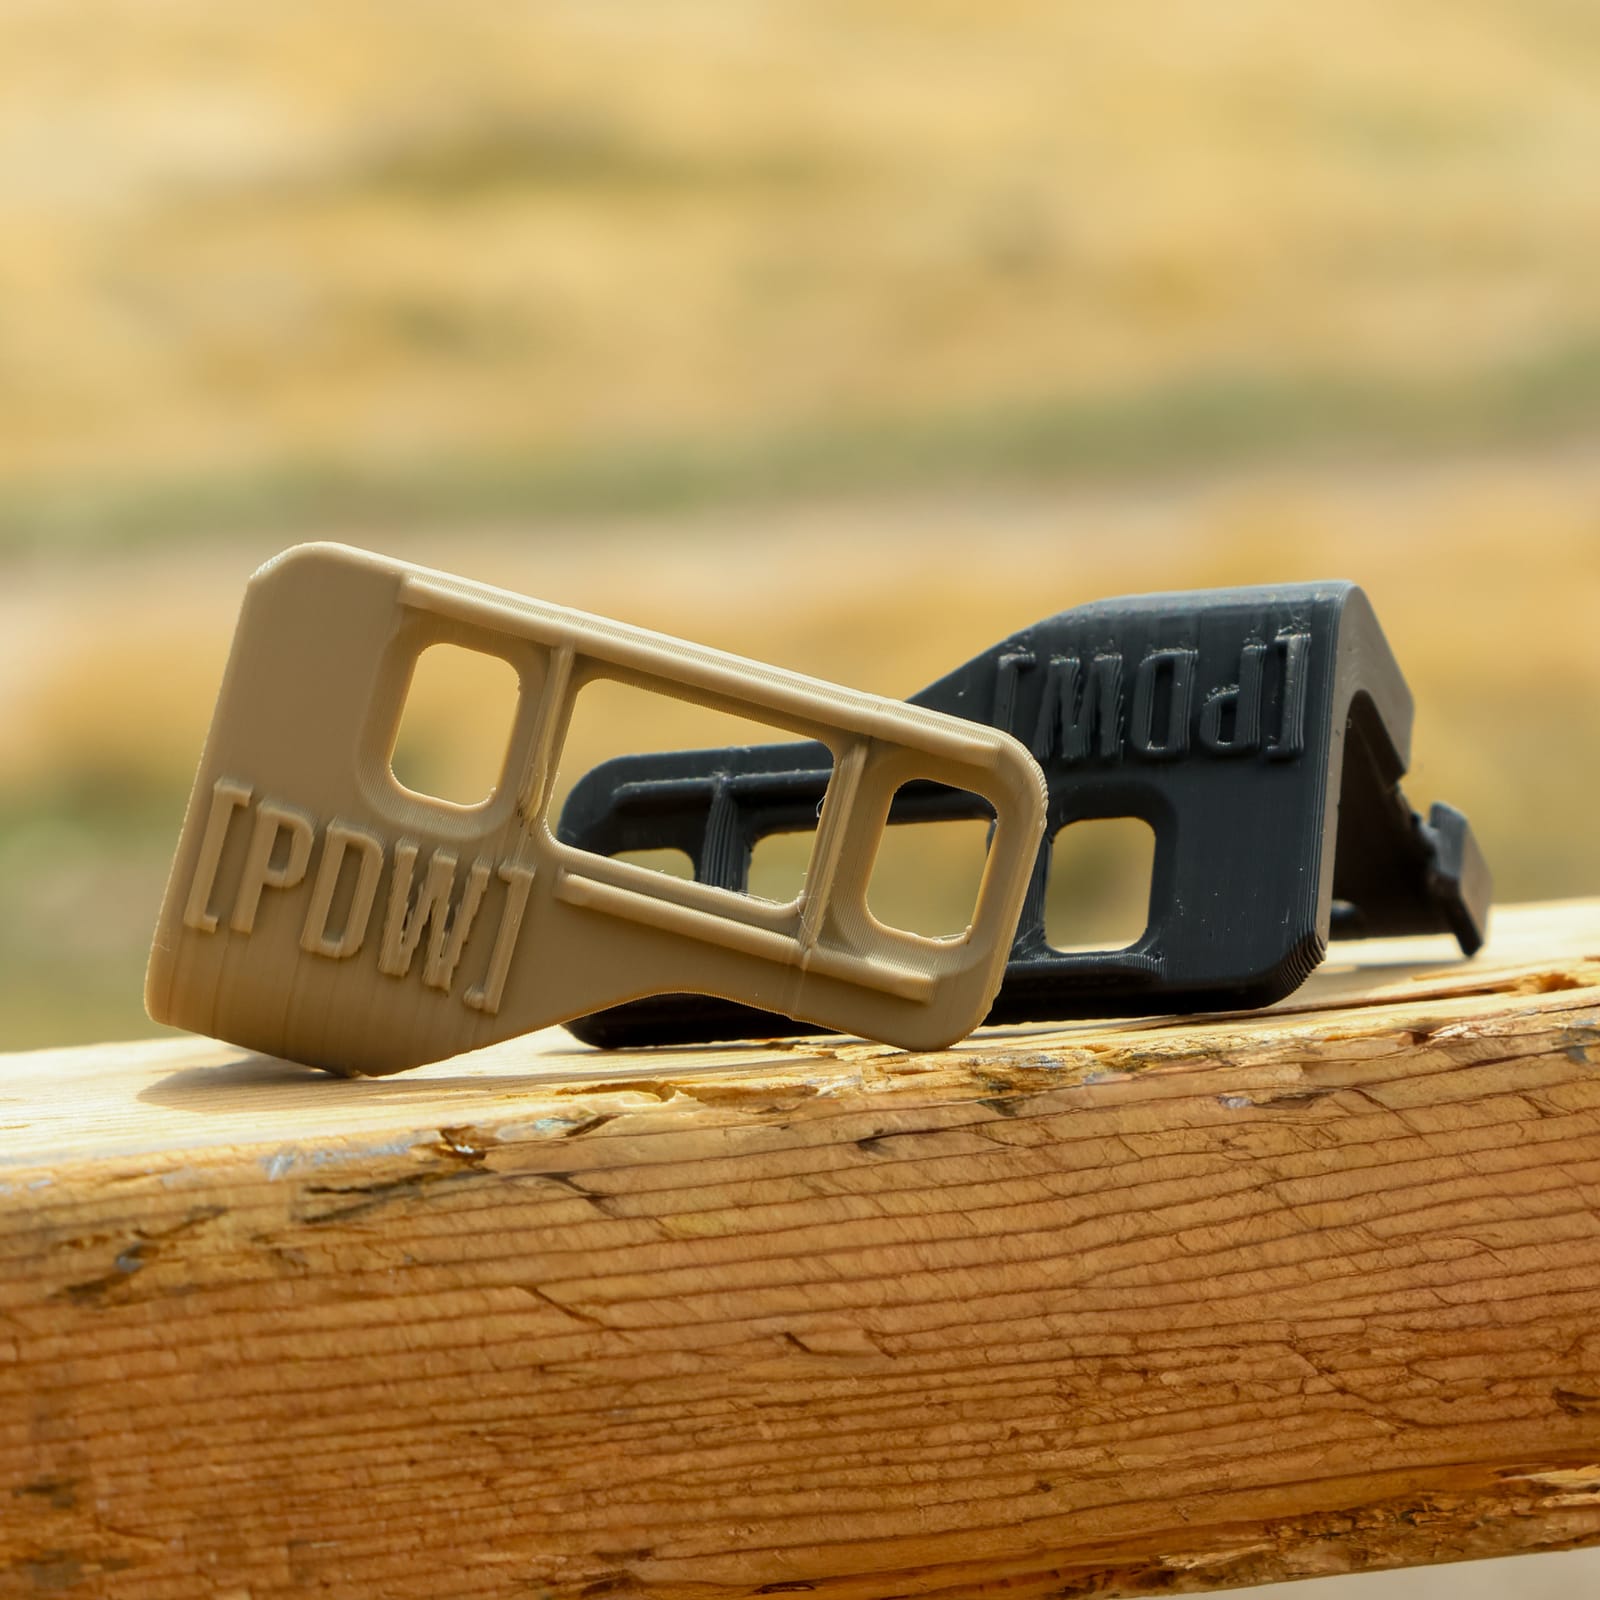
Your belt carries the reloads you need when your chest rig is off: one or two rifle mags and one or two pistol mags. Taco-style pouches (HSGI made them popular) hold mags securely without flaps.
Put pistol mags on your support side toward the front, and rifle mags behind them, so reloads come from the same spot every time.
Do This
- Mount pistol mag pouches on your support side, toward the front.
- Mount 1–2 rifle mag pouches behind them.
- Make sure every mag stays put when you run, jump, and roll.
- Add a dump pouch only if you have room left over.
Mount a Full IFAK
Now the pocket tourniquet from Tier 1 grows into a full IFAK (individual first aid kit): a tourniquet, wound-packing gauze, a pressure bandage, chest seals, gloves, and shears. It rides in a rip-away pouch behind your hip or at the small of your back, so it comes off and goes to whoever needs it.
Keep a tourniquet separate and reachable with either hand, usually up front, so you can use it on yourself without taking anything off.
Do This
- Build or buy an IFAK with a tourniquet, gauze, a pressure bandage, chest seals, gloves, and shears.
- Put it in a rip-away pouch you can pull with either hand.
- Mount a tourniquet up front, outside the IFAK.
- Mark the IFAK so anyone on your team knows it's medical.
- Check that it stays reachable with your pack and armor on.
Set the Layout, Then Train It
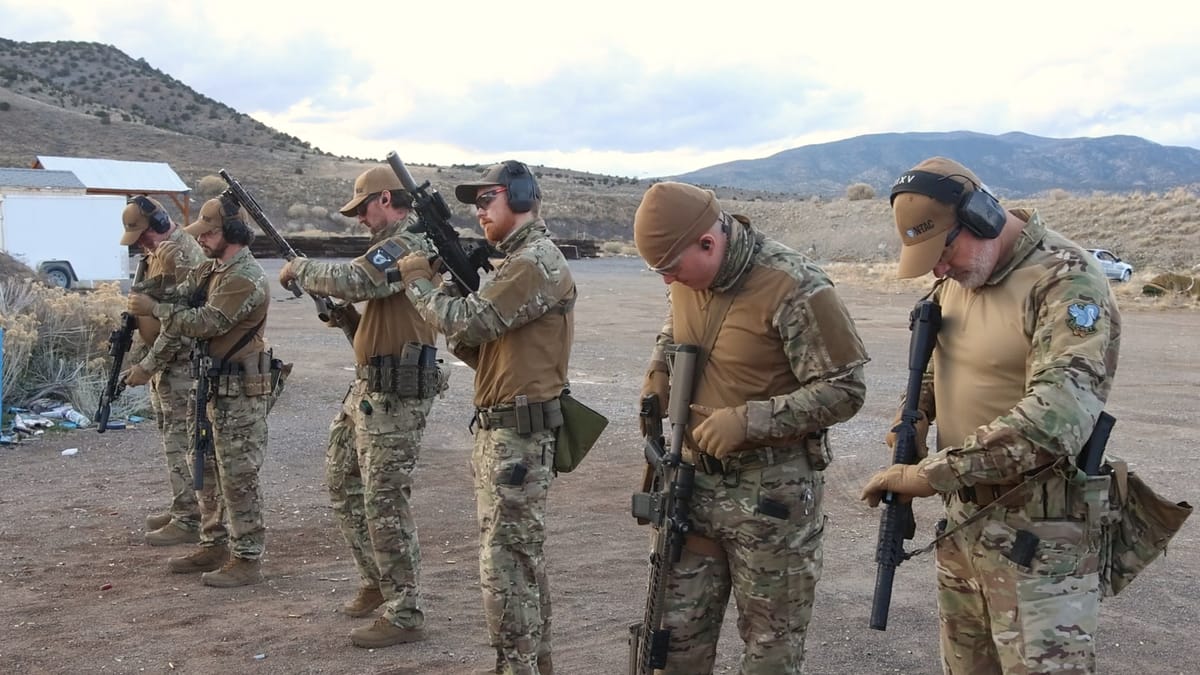
A belt only works if every hand goes to the same spot every time. Lock in the layout, then run draws, reloads, and tourniquet pulls until you don't have to look.
Keep the front of the belt clear so you can go prone and so your chest rig sits cleanly above it.
Do This
- Run 50 dry draws and reloads before your first live session with the belt.
- Practice a tourniquet pull with each hand while wearing everything.
- Go prone and kneeling to find anything that digs in or snags.
- Wear the belt with your pack and armor at least once before you call it done.
A Common Battle Belt Layout
- • Strong side: retention holster at your hip.
- • Support side, front: pistol mags. Behind them: rifle mags.
- • Rear: detachable IFAK, plus a dump pouch if it fits.
- • Front: tourniquet. Keep the center clear for going prone.
Less is more on a belt. A holster, a few reloads, and medical you can reach with either hand beat a belt covered in pouches you never use.
Common Questions
How do you set up a battle belt?
Start with a low-profile inner/outer belt. Put a light-bearing retention holster on your strong side, pistol mags on your support side toward the front with rifle mags behind them, a rip-away IFAK at the rear, and a tourniquet up front. Keep the center clear for going prone, then drill draws, reloads, and tourniquet pulls until they are automatic.
What's the difference between a battle belt and a war belt?
Nothing. They're two names for the same thing: a load-bearing belt that carries your holster, reloads, and medical. You'll also see it called a duty belt or first line belt.
What is first line gear?
First line is the gear you never take off: your belt with a pistol, a few reloads, a tourniquet or IFAK, and a knife. Second line is your chest rig or plate carrier, and third line is your pack.
Keep Building
Your Next Guide
Have Something to Add?
If you're a client or instructor with resources worth sharing here, reach out.
Get in Touch