Resources / Tactical Preparedness / Tier 8: Night Vision
Tier 8: Night Vision Setup
A Gen 3 tube, a helmet setup that holds it steady, and the reps to use it.
The Rundown
Night vision sits at the top of the pyramid because it's expensive and it multiplies everything below it. Learn the tech, start with a Gen 3 monocular, then mount it properly with a shroud, a quality mount, and a counterweight. Dual tubes are an optional upgrade. Figure out how you'll aim, and get regular night reps.
Costs are typical new retail ranges as of 2026 and planning estimates, not quotes. Brands named are common starting points for your own research, not the only good options.
Jump to a Step
Know What You're Buying
Understand Gen 3, digital, and thermal
Start With a Gen 3 Monocular
1 Gen 3 PVS-14-style monocular
Mount It: Shroud, Mount, and Arm
Helmet shroud + quality commercial mount + arm
Upgrade to Dual Tubes (Optional)
1 binocular night vision device
Work Out How You Aim, Then Get Night Reps
A way to aim under NODs + regular night practice
Know What You're Buying
Gen 3 night vision amplifies tiny amounts of light through an image-intensifier tube, and it's the standard for moving and shooting at night. Digital night vision is cheaper but laggier and less clear. Thermal sees heat, which is great for spotting but a different job.
White phosphor tubes show a black-and-white image and are the popular choice now. Green phosphor works too and often costs less. Tube quality is listed as FOM (figure of merit); higher is clearer.
Do This
- Decide what you need first: moving and shooting (Gen 3) or just spotting (thermal).
- Learn the spec sheet terms: FOM, phosphor color, gain, and gating.
- Set a budget that includes the helmet mount, not just the tube.
Start With a Gen 3 Monocular
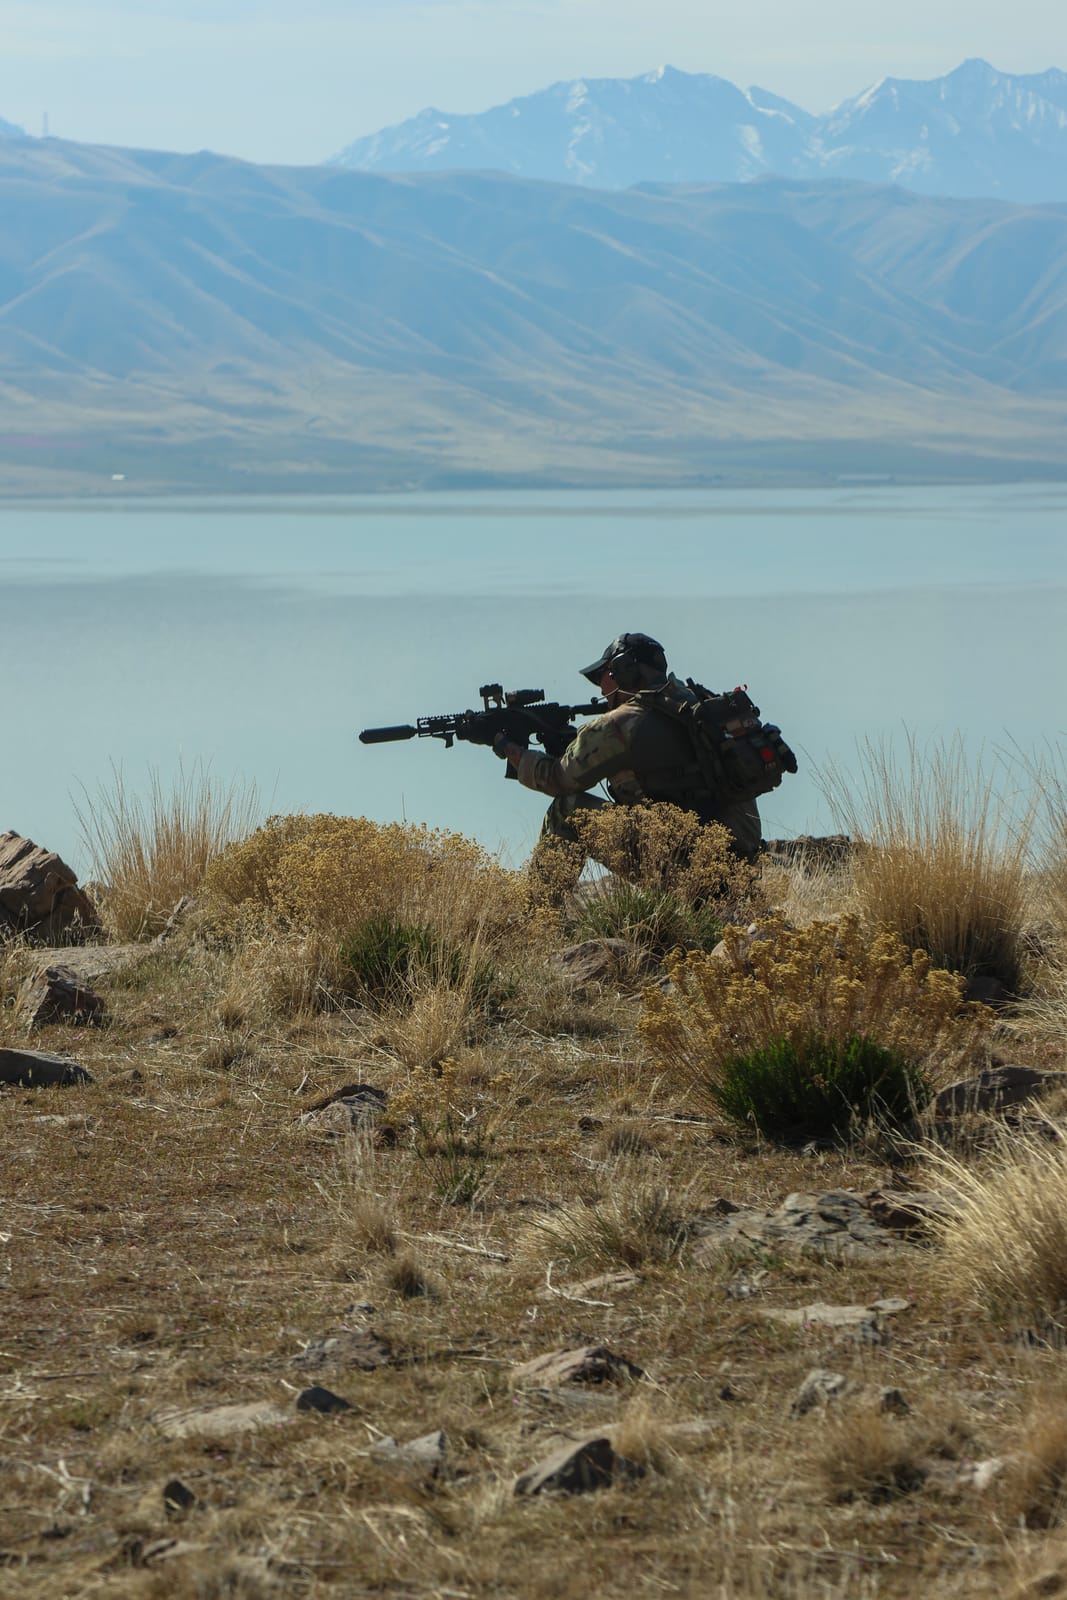
A PVS-14-style monocular is where almost everyone starts. One tube over one eye leaves your other eye adjusted to the dark, and you can use it handheld, on a helmet, or behind a magnifier.
Buy from an established night vision dealer that gives you the tube's spec sheet and a real warranty. Night vision is export-controlled, so don't take it out of the country.
Do This
- Buy from a reputable night vision dealer with a spec sheet and warranty.
- Learn it handheld first: focus, gain, and walking around in the dark.
- Keep the lens cap on in daylight and never point it at bright light.
- Store it dry with the batteries out.
Mount It: Shroud, Mount, and Arm
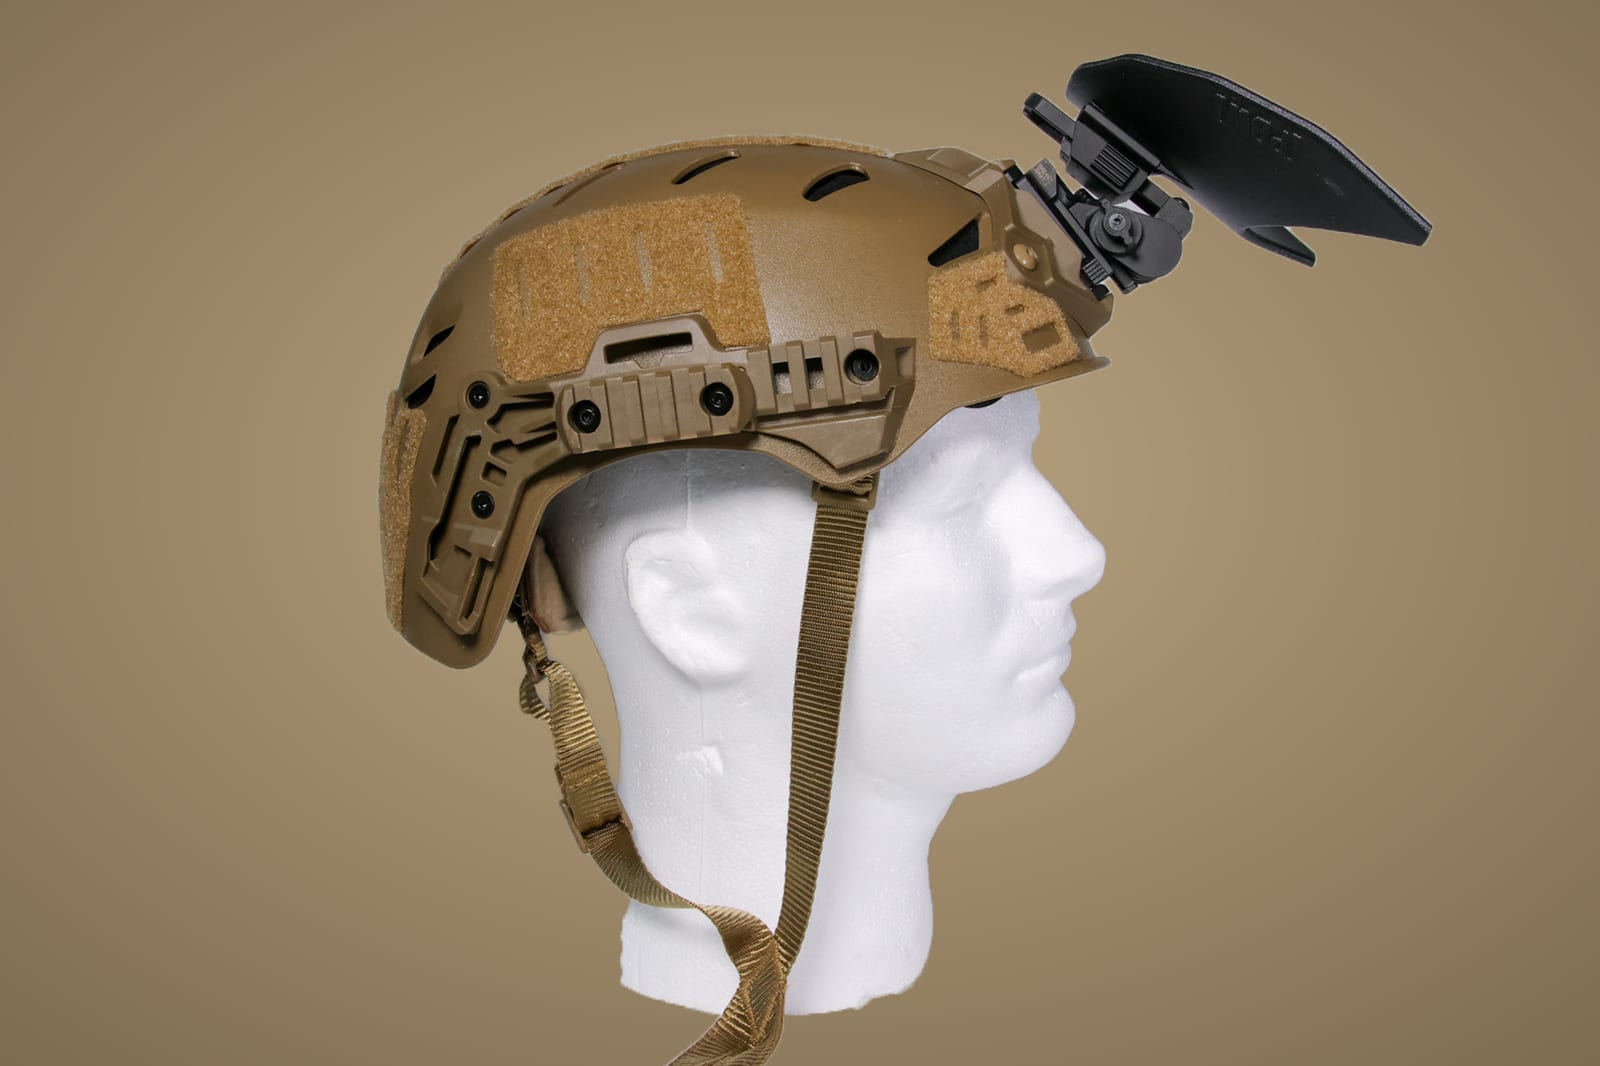
To go hands-free, the tube goes on the helmet from Tier 7: a shroud on the front, a mount that clips into it, and an arm that holds the monocular in front of your eye. Wilcox, Ops-Core, and Norotos are the common names here.
Get a quality commercial mount instead of older issue-style mounts, which tend to wobble and drift. Add a counterweight on the back of the helmet so it doesn't tip forward.
Do This
- Confirm your helmet has (or accepts) a standard front shroud.
- Choose a quality commercial mount and arm, not an older issue-style mount.
- Add a counterweight to balance the helmet.
- Set eye relief and height so the image fills your view without touching your face.
Upgrade to Dual Tubes (Optional)
Dual tubes give you depth perception, which makes walking, driving, and moving through buildings much easier. They're a big jump in price, so most people run a monocular for a long time first.
Do This
- Run a monocular long enough to know you need dual tubes.
- Budget for a mount that can handle the extra weight.
- Keep your monocular as a backup or to hand to a teammate.
Work Out How You Aim, Then Get Night Reps
Most red dots can be seen through night vision on a low brightness setting, so you can aim the same way you do in daylight. IR aiming lasers are the next step, but anyone else with night vision can see them, so they take care and training.
Night vision is a skill as much as a purchase. Plan regular nights out with it before you rely on it.
Do This
- Check whether your optic has night vision-compatible brightness settings.
- Practice moving, then shooting, under NODs on a range that allows it.
- Learn to switch between night vision and white light quickly.
- Go out at least once a month to keep the skill.
Learn It From People Who Teach It
Low-light and night vision classes shorten the learning curve a lot, and they show you how to work safely around other shooters in the dark.
See where to train →Night vision changes what you can do after dark, but only if the tiers below it are solid and you've put in the hours. Once it's here, go back down the pyramid and fill the holes.
Common Questions
How much does good night vision cost?
A Gen 3 PVS-14-style monocular typically runs about $2,600–$4,700 new in 2026, depending on the tube. Add roughly $250–$900 for a helmet shroud, mount, and arm. Dual tubes usually start around $6,000 and go well past $10,000.
Should I buy a monocular or dual tubes first?
A monocular. It costs a fraction of dual tubes, works handheld or on a helmet, and teaches you how to use night vision. Most people run one for a long time before upgrading.
What does white phosphor mean?
It means the tube shows a black-and-white image instead of the classic green. Many people find it easier on the eyes and better for contrast, but a good green phosphor tube still works well and often costs less.
Have Something to Add?
If you're a client or instructor with resources worth sharing here, reach out.
Get in Touch